GAS(google apps script)で客層データ入力ツールを作成しました(その2)
こんばんは。
だいぶ間が空きましたが、前回のツール作成の続きをまとめて行ければと思います。
前回の記事はこちら→■
前回まででWebページ(初期ページ)の作成及び公開までを行いました。
今回は入力インターフェイスとなるWebページの作成について話していこうと思います。
ここではhtml(HyperText Markup Language)とcss(Cascading Style Sheets)が必要になります。
これらについては一通り理解しているという事を前提に話を進めて行きます。
まず前回作成したhtmlファイルを見てみましょう。(私はGoogle.htmlと名前をつけました)
<!DOCTYPE html>
<html>
<head>
<base target="_top">
</head>
<body>
</body>
</html>
こんな感じになっているかと思います。これでは画面に何も表示されませんし、今回の目的であるデータ入力はできません。
まずデータを入力するためのボタンを作成します。
ボタン作成はbuttonタグを使う方もいるかと思いますが、divタグを使って作成します。
--------------------------------Google.html--------------------------------
<!DOCTYPE html>
<html>
<head>
<base target="_top">
</head>
<body>
<main>
<article id="potch_potch">
<section id="gender_m">
<div id="m_60">60</div>
<div id="m_50">50</div>
<div id="m_40">40</div>
<div id="m_30">30</div>
<div id="m_20">20</div>
<div id="m_10">10</div>
</section>
<section id="gender_w">
<div id="w_60">60</div>
<div id="w_50">50</div>
<div id="w_40">40</div>
<div id="w_30">30</div>
<div id="w_20">20</div>
<div id="w_10">10</div>
</section>
</article>
</main>
</body>
</html>
--------------------------------Google.html--------------------------------
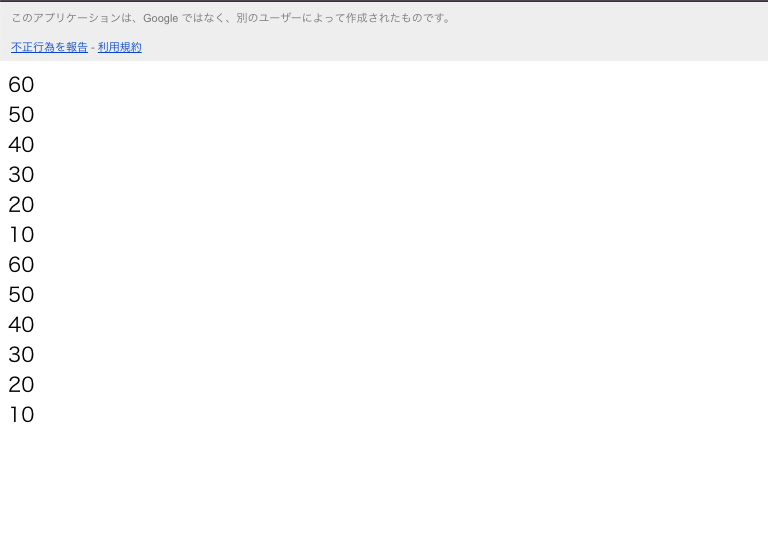
こんな感じで。
なにもスタイルを設定していない状態なので、

こんな感じにうえから積み上がる感じで表示されてしまいます。
これをcssで整えます。
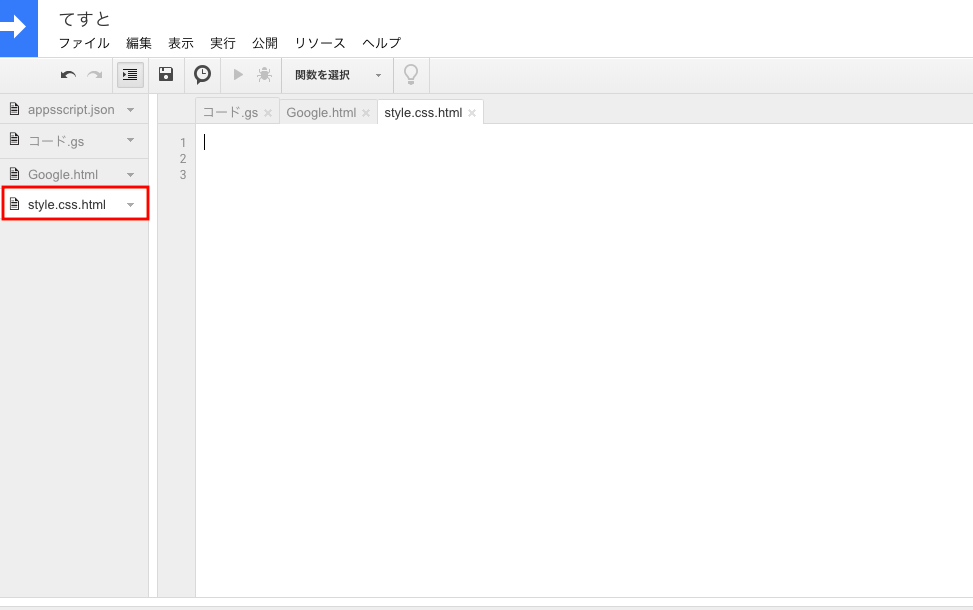
GASでcssを外部から読み込む場合は一工夫必要なので少し説明します。
<head>〜</head>
の中に
<?!= HtmlService.createHtmlOutputFromFile('style.css.html').getContent(); ?>
を記載します。下線部赤色の部分に読み込ませたいcssファイル名を記入します。GASでcssファイルを作成する場合htmlファイルとして作成します。

こうすることで文字色や背景色といった装飾部分をstyle.css.htmlファイルと言う、Google.htmlファイルとは別のファイルに分けて記載する事が出来ます。
装飾部分は利用者の好み等あると思いますので、ご自身で設定して頂ければと思います。
とりあえずサンプルのcssを貼り付けて置きますので、こだわりとうない方はこちらをお使いください。
--------------------------------style.css.html--------------------------------
<style>
div, body,html,table{
padding:0;
margin:0;
}
body,header, main,footer,article{
width:100%;
height:auto;
}
section#gender_m,section#gender_w{
width:50%;
}
section#gender_m{
float:left;
}
section#gender_w{
float:right;
}
section#gender_m div,section#gender_w div{
border-radius:5px;
color:white;
height:70px;
line-height:70px;
width:80%;
text-align:center;
margin:15px auto;
}
section#gender_m div{
background-color:blue;
}
section#gender_w div{
background-color:red;
}
article#potch_potch::after{
content:" ";
clear:both;
}
main::after {
content: " ";
clear: both;
}
footer{
text-align:center;
position:relative;
bottom:0;
height:0;
}
div#m_10,#m_20,#m_30,#m_40,#m_50,#m_60,#m_70,#w_10,#w_20,#w_30,#w_40,#w_50,#w_60,#w_70,article#delete_button>div{
cursor: pointer;
}
article#result_display table,article#m_and_w_display table,article#delete_button{
width:80%;
margin:0 auto;
text-align:center;
}
article#result_display table td,article#result_display table th{
width:30%;
}
article#delete_button>div{
width:100%;
background-color:yellow;
height:50px;
line-height:50px;
}
</style>
--------------------------------style.css.html--------------------------------
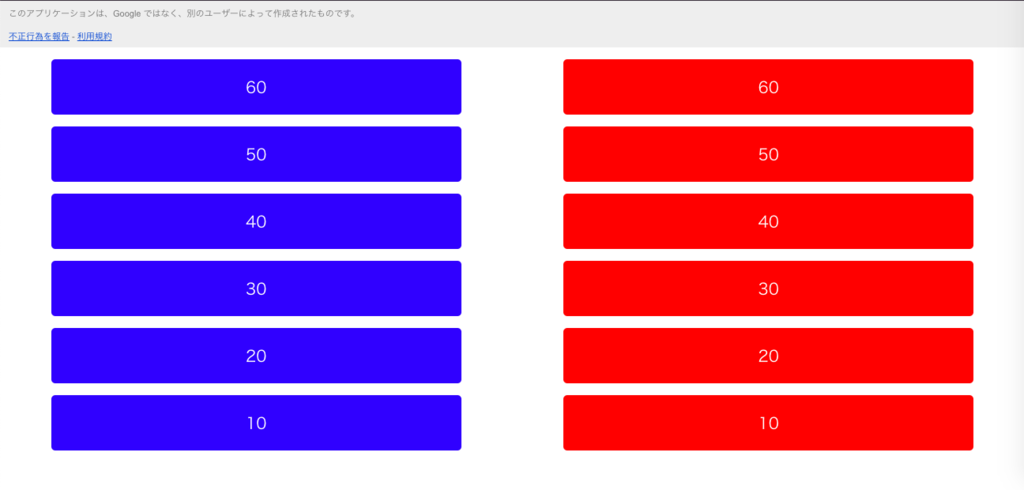
これを書き込むと

こんな感じのスタイルになります。
次回はいよいよ入力の仕組みについて書いていきます。
長くなりました。(その3)→■